Contact Me

Thursday, July 26, 2012

Adventures in cheese making

What a fun thing to do. If you have never attempted to make cheese of any kind before then you must try it. It is amazing to watch the milk product transform into a whole new being. Also what do you do with milk when it is close to or past date? MAKE CHEESE!!!


Ok so I had about 4 gallons that were past date. I know we drink a lot of milk, at least the kids do, but I know there is no way for us to use it all up before it turns sour. So I thought ricotta cheese. I threw 2 gallons in the largest pot I own, the pot I use for stock (more on that later), and a half pint of heavy cream for richness. The heavy cream is not necessary, just makes it taste really good. 


One thing is you don't want to crank the heat on this and bring it straight to a boil. It will scald and it won't turn to cheese. You want to set it on med low and let it slowly come to temp. You want it to boil but very slowly. Make sure you stir the bottom of the pot so you don't scald the milk that just sits there. The temperature you are going for is 180 degrees. But I just eyeballed it. I looked for a few bubbles to come to the surface.

It has just began to curdle
Once you get to 180 you want to add in your vinegar and salt. You will see it immediately form curds. Stir as little as possible now. Turn the stove off and let it just sit there and curdle. Make sure that you stir the bottom of the pan if you leave in on the stove, otherwise you will get scalded cheese. 


While waiting for it to curdle line a strainer with a towel or cheese cloth. Once it has become a giant mass of curds start ladling it into your strainer lined with towels. My suggestion would be don't make 2 gallons at once unless you have enough towels to strain that much and a place to hang them. 


My towels loaded with cheese
I took the curds and filled my towels and used ribbon to tie them up. I then hung a wooden dowel over my sink and tied the cheese filled towels to it. I let them drain until I couldn't see any more whey coming off them anymore. It took about 2 hrs. 

Once drained scrape all the cheese into a storage container and it is ready to use for whatever recipe you want it for. It can be stored in the fridge for up to 6 months. 

All this cheese from milk we would throw away otherwise. 
I used mine to make lasagna with homemade sauce. Honey was in heaven. He was texting pictures of it to all his friends. 
Just before I added the cheddar cheese on top


Thursday, July 19, 2012

Homemade Freezer Burritos

I don't know about you, but my family can go through a package of these in one meal. Doing that once in a while is no big deal, right. But no princess wants them daily. No I don't let her have them daily. I do however, when I don't know what to make for lunch throw these in the microwave and they have lunch. Between the 3 kids they can devour a whole package for lunch.

I had to find a way to make them so that they can have them when they want and I can afford to let them have as many as they want.

I thought why not just use the smaller taco shells and make up a bunch at once. YES! It works. However I have a hard time making it to the freezer with them. The kids can eat them as fast as I can make them. Good thing they only cost about $0.20 each burrito. And that is the most expensive it can be. Usually runs a bit less.

All the ingredients needed!
 Its great only need 3 ingredients and a few mins and you have got the same thing you would spend about $5 on, for only about $1.50
 Lay all your tortillas out. I could only make 6 at a time due to space.

 Put in a spoon full of beans right in the center of the shells. To make my beans I water them down just a little to make them go father, that is completely up to you. I also add in 2 packets of Taco Bell mild sauce.


 Then a very small sprinkle of cheese. They really don't need much. Just a little for taste.


Then roll them up. Fold in both ends and then roll.


  Fresh you can micro them for 30 sec. Frozen  I would micro them about 1min 30 sec.


This is my stack all ready to eat


All 3 kids like different dips for their burritos. Princess likes to have both Ranchero sauce and Ranch. Bubba like to have ketchup. And Monkey likes them plain.
Choices, Choices!

Tester

Testers


Wednesday, July 18, 2012

Homemade Fruit to Go

Monkey man is in love with these. Seriously! At play dates if anyone else has one he will steal it from them if I don't get his out.


The best thing about these is that he can hold them himself and usually doesn't make a mess with them. They fit in any bag we are toting that day. They really are a lifesaver. However, I can't handle the price of them. He can go through up to 2 of them a day and at between $0.60 and $1 each the price can really add up. I had to figure out how to cut the cost of them.

I set out to experiment and find new ways to get him what he wants and not go broke in the process.

I thought why not use a large jar of applesauce and refill? After all that is all that is in those pouches. Flavored applesauce. Best part is you can control what goes in there. I am planning on using homemade applesauce later in the summer when I can get some made. Ok so refill product is established, but how to get it in that little tiny hole? A funnel will just make a huge mess. Then I thought why not a turkey baster? Perfect fit. Makes refill a snap.

Now for the instructions.

Start with a stack of cleaned empty pouches. I clean them by running scalding hot water through them. Since they are a smooth surface there is no place for things to hide. Hot water works great. If you want you could add some soap to it, however it may be difficult to get all the soap residue out.


Next get your filling. AKA applesauce. Make sure it is flavored however you want it once it is done. This is your last chance to change anything about it.

Fill your turkey baster. One tip would be don't squeeze too much air out because you want to be able to have extra air to push it out. Fill it almost all the way to the top


This it getting to the bottom of the bottle but still able to get more out.


Next line up the opening of the baster with the opening of the pouch. Make sure your pouch is squeezed flat. As little air as possible inside. If you start with it full your applesauce will be fighting against the air. If it is empty there is nothing to have to come back out. 


Finish filling them all up and let your little one enjoy their treat and you enjoy not spending the whole grocery budget on these little pouches.


Wednesday, July 11, 2012

Wacky Water Fun!

All 3 playing together in the sprinkler
What do you do with 3 kids when it is 900 degrees inside and out. We have no air conditioning in our new house. We can't find our sprinklers. And the kids are getting quite sick of shopping just to stay cool. So we devised a new water toy.


We made a sprinkler and it cost us nothing!!! 
Bubba running through

"What?" you say, that can't be possible. Well it is. I took an old 2 liter bottle from honey's favorite drink (Mt Dew). I used a knife and punctured many holes in it. And we duct taped it to the end of a hose. Yes I could have gone to the store (more shopping) and bought a coupler that fit them both, but then it wouldn't have been FREE. After duct taping it together I threw it over a tree branch, turned it on and let them have fun. 
Princess running through

Some of you know where this is going, and I was afraid of this happening. Duct tape is not water tight or water proof. After a few minutes of water rushing over the tape it loosened. Sure enough with all 3 kids standing right next to it, it shot to the ground, spraying water EVERYWHERE. Yes it was refreshing, but shocking.
Not so sure of the water
Running away
So try two, I got my plumbers tape out. You know the white stuff that isn't really tape but seals everything up. Usually it is put on a pipe that you are going to screw together so that the threads don't leak. (can you tell  I am a daughter of a construction worker?) Anyways, back to the sprinkler, I wound that stuff around there till I couldn't see the end of the hose or the top of the bottle anymore. I then wrapped a ton of duct tape around that. It worked. It's been up for 3 days now and still holding. They enjoyed it so much. Almost worthless to go buy a sprinkler. 
Duct tape over Plumber's tape
IT Works!!!

Monday, July 9, 2012

Independence Celebration

What a wonderful vacation we had. Honey took the last half of last week off so we had 5 days with him home. What a treat, unfortunately he threw his back out on the 4th of July so he was laid up and we didn't get to do all the fun things we were planning. But we did get to enjoy some time together as a family. We went to the local park, we played with water balloons in the back yard, we cleaned the house, we watched movies. It was just so wonderful to have time just our family.
Bubba

Princess

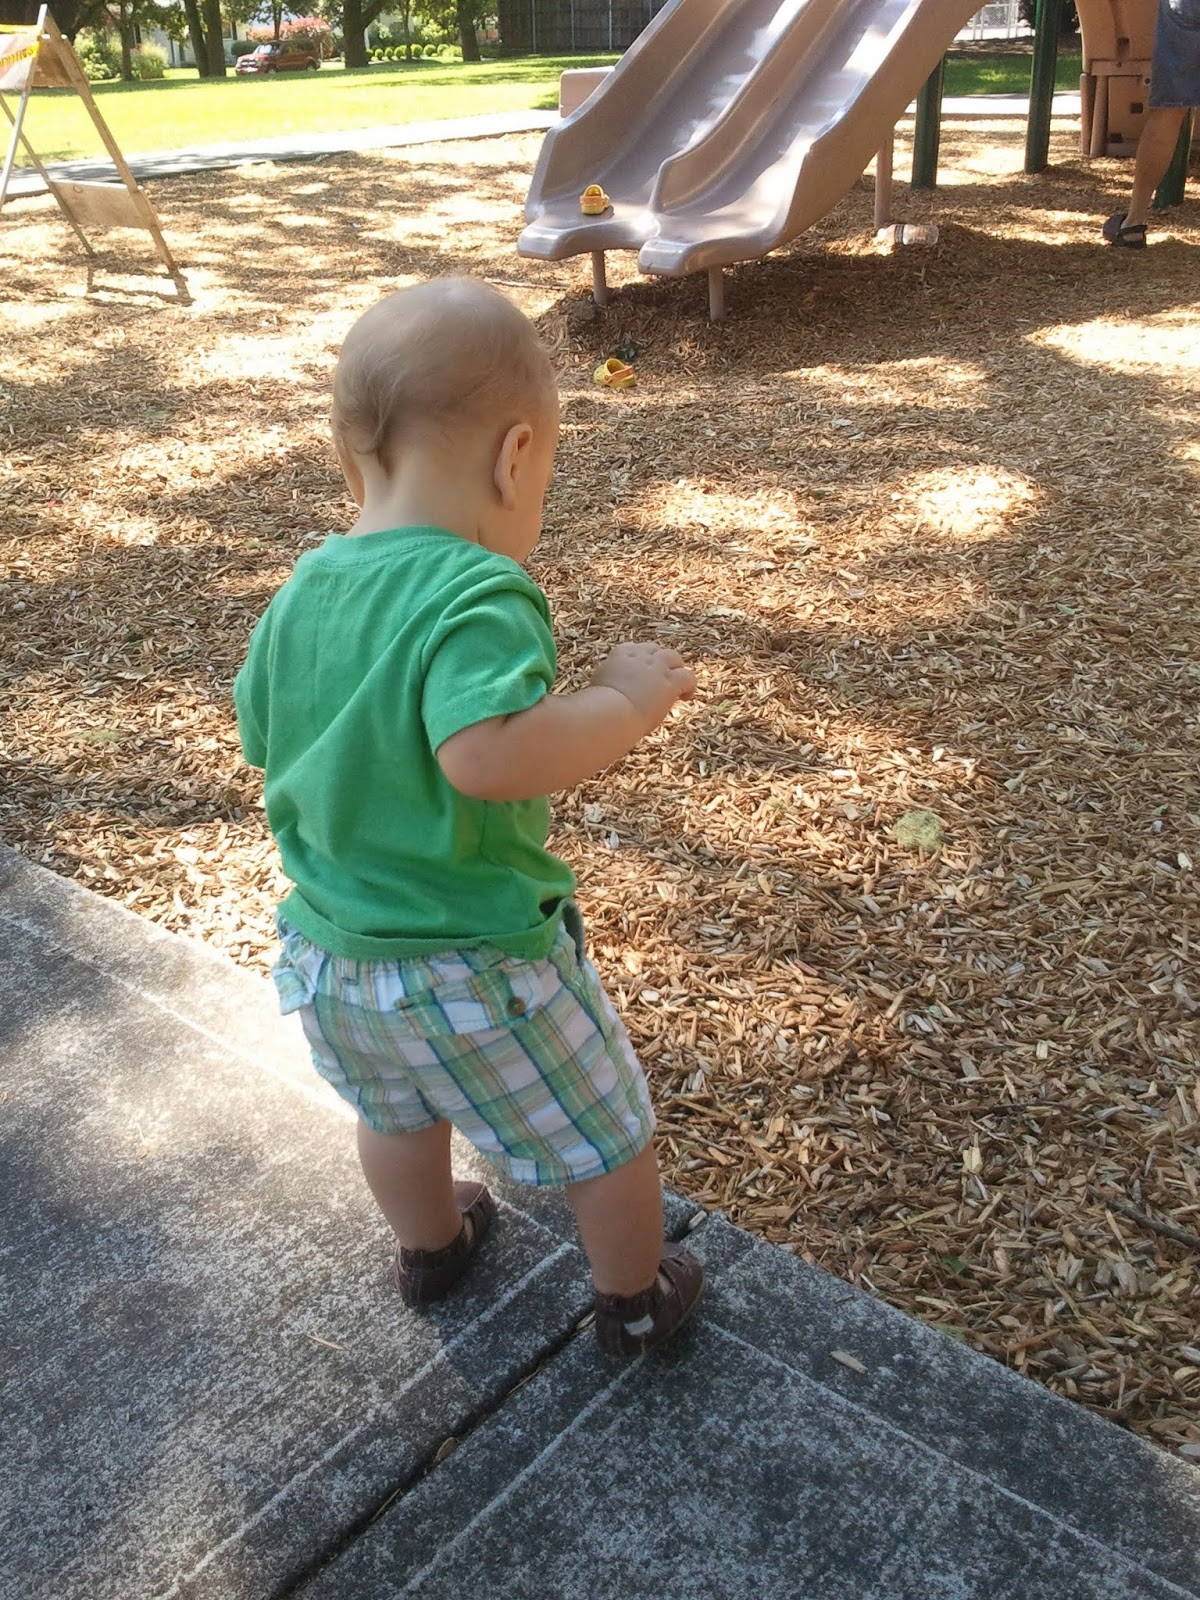
Monkey (and he is WALKING!!!)

Our normal 4th of July tradition is to go to Nana and Papa's house. Everyone we know is invited and we always have a blast. This year was no different. Why change things after 16 years? It is always fun to see what new foods are brought. Everyone brings something and it is just one big potluck. There is of course the usual suspects, Pasta salad(by Honey), Shamburgers(by Nana), fruit pizza(Rhonda), then there are always new dishes, Uncle Eddie brought some philippino juice, Mayumii brought vegetarian sushi, and many many other new and exciting dishes.

So my dilemma came in what should I bring? What was unique enough to join these amazing dishes brought and made by some amazing people? Ah Ha! I found a picture for a cake that would WOW everyone. It was much like a birthday cake, and that is ok because after all isn't the 4th of July our countries birthday?
How can I make this?

So I set to planning. I needed many layers of red cake and one big block of blue. Also needed white frosting that would hold up to that many layers. So I bought 2 boxes of Classic Vanilla cake mix. I poured my mix into my kitchen aid mixer and mixed up my cake batter. I then added an exorbitant amount of food coloring. I wanted this cake RED. Then I split it into 3 round cake pans, because that is how many I had. I was amazed to find that it took only about 10 min to cook even though the box said 30  min. Make sure you keep an eye on them and don't let them over cook.

Fairly close to the original. 
I then mixed up the second box of mix and split it into two bowls. I colored one red the same as I did before and the other I did blue. I was very lucky that the blue colors very easily and only takes a small amount of coloring. I then baked them up the same as I did before. I just made sure that my blue one was as deep as possible. Unfortunately it still wasn't quite deep enough to only do one layer of blue in the cake. I had to cut 2 circles out of the blue cake to get it tall enough to make the blue section of the flag.

Now to assemble: I let the cakes cool most the afternoon, then just before bed I sliced them into the layers and froze them. I places foil in between each layer so they wouldn't stick to each other. This way when I woke up in the morning I could frost them without the cake crumbling. What a lifesaver. I then just slathered white frosting onto each red cake piece and stacked them up. Once I had them all stacked up I took a cookie cutter the size of circle I wanted and cut through about 6 layers of the red cake. I then took the same cookie cutter that I cut the red cake with and cut 2 circles out of the blue cake. I put a small amount of frosting in between the two blue layers to make them stick together. I then just slid them into the hole cut into the red cake.

Frosting: I just took the rest of the white can of frosting that I had and began to flat frost the whole cake. Oh no I underestimated how much frosting I was going to need. Luckily stores are still open on the 4th of July. So after picking up Bestie and her girls we made a stop at the store to grab another can of frosting and blue writing gel. And of course being the 4th of July, they were out of Blue gel. They had plenty of the others just no Blue. So I had to buy the set of 4 colors 2 of which I had no use for, today. ;)  So once reaching Nana and Papa's I finished frosting the cake.

Thais is what I came up with
Decorating: Possibly the easiest part of the whole process. I took the red and blue writing gel and make alternating circles. I then took a tooth pick and drew lines alternating directions from the center to the edge and the edge to the center making a nice pattern. Of course Bestie had to say it looked like a spider web and she has a fear of spiders.


A Slice

After a piece was taken

I also wanted to look patriotic. So I bought blue nail polish. You know the stuff that you look at and think that only a 12 year old girl or guys who are rebelling would buy. Yep, I bought that stuff. I painted my nails red, yeah I already had red at home and didn't think I needed yet another bottle of that. I painted them just like normal, two layers let dry in between. I then let them dry completely. I made half circles out of some sticky name tags, you know the kind that they make you wear at your high school reunion or at meetings that you don't want to go to. So after my nails were all dry I placed the half circles on my nails, this would have been easier if I had used those stickers that you put on paper to make sure it doesn't rip out of a binder, but I used what I had. So now with my freshly painted nails covered in half circles I painted blue over them. I took off the stickers before it dried too much. I didn't want it to pull the blue off with the stickers. 

Turned out quite nice


Friday, June 29, 2012

Organizing Dressers

 I have to admit, I hate dressers! That is up until recently. I can never find what I want without rummaging through the whole drawer making it look, well, like this:
Before
 So I started making them easier to see everything. Like this:
After (plus a few more shirts from laundry)

 It is so nice to be able to see everything in the drawer just by opening it. No rummaging, no digging, no unfolding. Its just all there. Plus you can get more in each drawer than the old way of folding.


Start with this
 Take your shirt
Folded in half
 Fold it in half hot dog style
Fold the bottom up
 Fold the top of the shirt up
All folded

Then fold the bottom down over the top, you should have a nice square like this. 
side view

Before

Plus this.


After
Pants and jammies are done much the same way. If they are too long to fold in thirds, I fold them in fourths by folding both ends towards the center and then in half. What you are going for is for everything to be a uniform square. Then line them all up so that you can see the fold on all of them from the top. Makes finding things much easier.

Tuesday, June 26, 2012

My new favorite drink! (Better than Starbucks)

I am in LOVE!!!

I have a slight addiction to Starbucks blended coffee. I could, if I  had the money, drive through everyday. I love them so much, but am not so in love with the price tag. They keep going up in price. And at $4.25 a piece, I could easily go broke just on them alone. 

So I needed a way to replace my new love. I have tried so many times to make them with varying combinations of coffee, ice, creamer, milk, syrup. All with little success. They all were just a bit off. 

Then I got to thinking, "What if I were to freeze the coffee and not use any ice cubes, but instead us frozen coffee cubes?" WHY has no one thought of this before????? It works great. And while it melts rather than watering it down you just get iced coffee. 

How you ask do we make this nectar from heaven? Well let me tell you, couldn't be much easier.

First you make SUPER strong coffee. I actually used my espresso maker and made it strong. 


The pot my espresso maker uses. It was FULL


Then pour your coffee into Ice Cube trays. And if you put it straight in the freezer it works great because it crystallizes and makes a light ice rather than a dense ice. 
The coffee ready for the freezer

The next step is to wait. This is the hardest part of the whole process. Tick Tock...Tick Tock...Tick Tock...
I usually do this step overnight so it is ready for me in the morning. Plus one tray makes enough for 2 days. (next time I have free time, HAHA, I am going to make extra and keep them in a ziploc in the freezer)
Frozen to perfection

Once you have Coffee Cubes take 6 of them and place them in the blender. I then place about a cup of creamer mixed with milk into the blender. The ratio of milk to creamer is your choice. If you like it ultra sweet do about 1/2 and 1/2. If you like a little less do about 1/3 creamer and 2/3 milk. If you like it much less sweet go ahead and do 1/4 creamer and 3/4 milk. The ratio is all up to you. 
Milk & Southern Butter Pecan creamer
Ready for the blend


Then set the blender on ice crush. and blend until smooth. The nice thing about using coffee instead of water for the ice is that is breaks up in the blender much easier.


Blended To Perfection
 Now that Makes a very happy MAMA


ME enjoying my coffee that I can afford.
 Now enjoy your homemade, very cheap, blended coffee. And another perk to making them at home is that you get to choose the flavor! 
Yes that is my coffee I am drinking while writing this!